Free Layout
Users can freely add different types of information windows and adjust their positions and sizes.
Adding and Removing Information Windows
-
In the analysis tab, click the toolbar icon to open the list of supported windows for addition.
-
Click to select the required information window.
-
Newly added image windows are added by default to the right side of the main window (the thermal image window); chart and table windows are added below the main window by default. Additional windows of the same type will be stacked as tabs.
-
Unneeded windows can be closed by clicking the at the top-right corner.
 to open the list of supported windows for
addition.
 at the top-right corner.
Adjusting Window Position
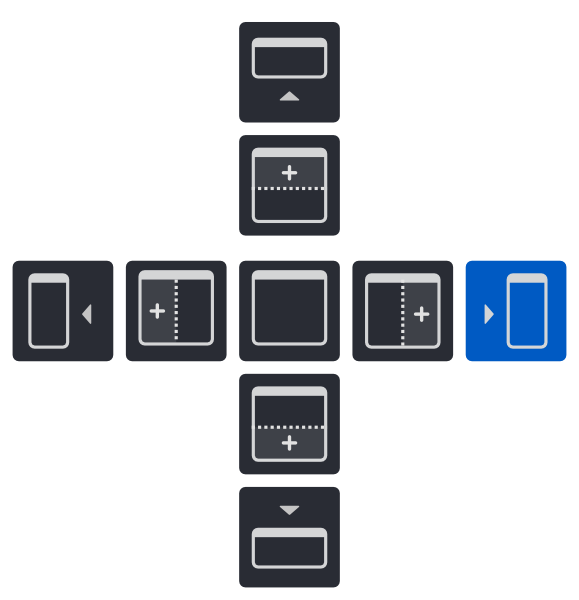
Left-click on the window header you want to reposition and drag it to adjust its position. The layout indicator helps you locate where to place it.
-
To detach a window from the software interface: Drag the window header to any place where no layout indicator appears, then release the mouse.
-
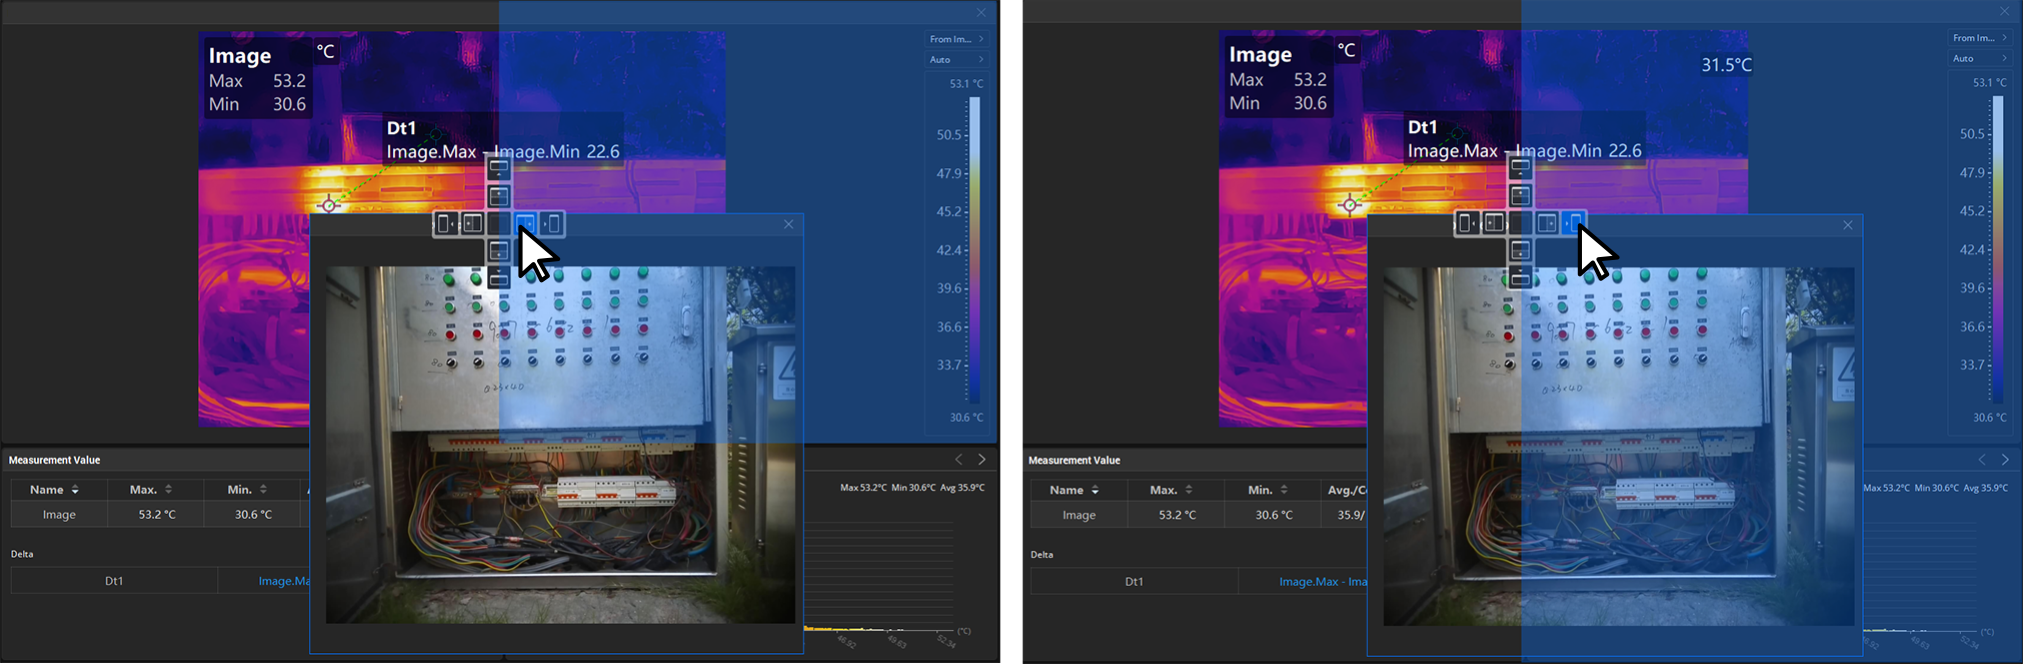
To adjust window position within the main software interface: Drag its header to the adjacent window of the target area until the layout indicator appears. Align your cursor with the indicator's position, then release to lock the window in the shaded preview zone.
Resizing Windows
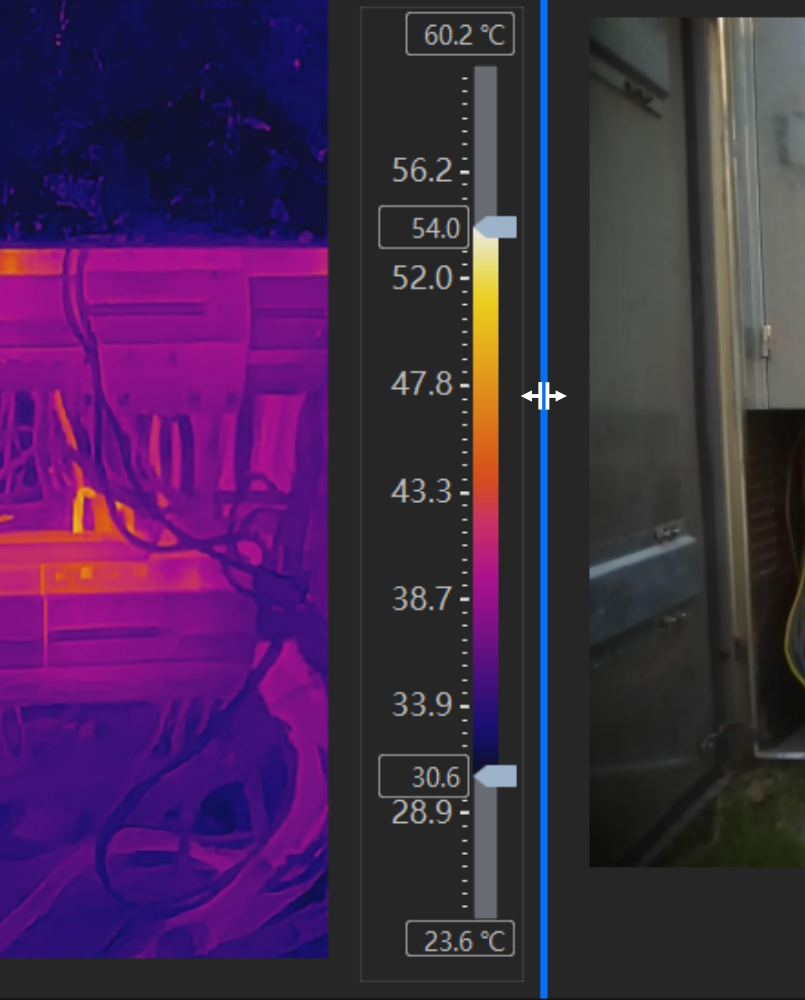
Move your mouse to the edge of the window. When the edge turns blue and the cursor changes to , drag to adjust that edge's position.
 , drag to adjust that edge's
position.
Add Current Layout
Save free layouts according to task requirements for quick reuse.
-
In the analysis tab, click the toolbar icon .
-
Click Add Current Layout.
-
Input layout name, and then click OK.
Users can rename and delete custom layouts via the right-click menu.